
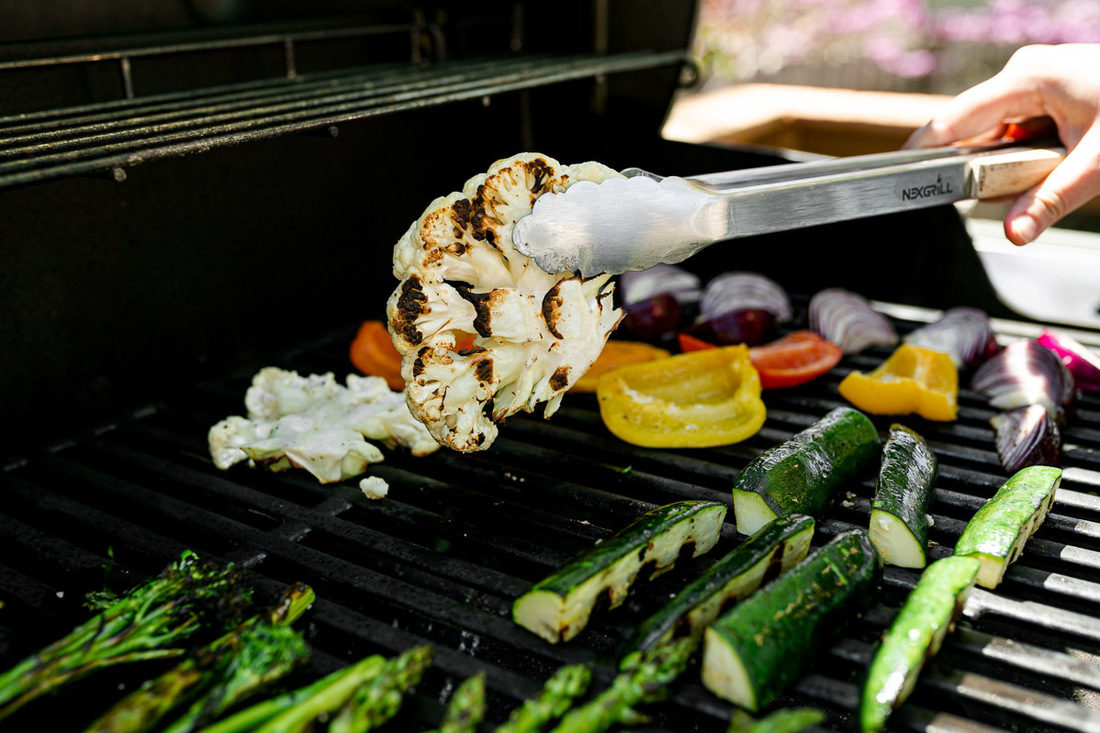
Grilling: A Skill for Everyone
Grilling isn’t solely reserved for summer or suburban dads. Anyone who enjoys being outdoors and savors that smoky, crispy taste can master it. Yet, flames can intimidate even seasoned home chefs. Grilling involves some risk, but Jess Larson, founder of Plays Well With Butter, offers tips to elevate your grilling skills this summer.
Choosing the Right Grill

Most grills are gas or charcoal. Gas grills provide convenience and ease. For budget-conscious grilling or those eager to manage a fire, charcoal grills might be ideal. Gas grills mimic kitchen stovetops allowing quick lighting and flame control. Larson notes that setting the dials as per your recipe helps manage temperature, which speeds up dinner preparation.
For classic grill flavor, charcoal is preferable. Larson describes charcoal grills as embodying the iconic smoky flavor with a familiar kettle appearance. Ideal for beginners due to affordability, mastering charcoal does require a learning curve but yields a unique charred taste.
Lighting the Fire
Using a charcoal grill requires lighting your own fire. Larson advises using a charcoal chimney for simplicity. Remove the top grate and place your tinder, such as crumpled newspaper, at the chimney’s bottom. Flip it over, pouring charcoal through the top. More charcoal equals higher grill heat. Place the chimney on the grill’s bottom grate, lighting the tinder with a long lighter. For lighter cubes, ignite them directly on the bottom grate before placing the chimney. The coals glow orange initially, turning dusty gray after 10-15 minutes, indicating readiness. Pour lit coals into the grill, arranging them on the charcoal grate depending on cooking needs. Reposition the top grate, and you’re ready to grill!
For gas grills, buy propane at a hardware store or connect to a natural gas line, if available.
Controlling the Heat
Charcoal grills require creating temperature zones. Stack more coals on one end for high heat, fewer on the other for low heat. Additional coals started in a chimney can be added for higher heat zones. Opening bottom vents increases airflow, burning coals hotter. With heat zones established, adjust food placement for varied cooking needs. Larson recommends starting chicken on lighter heat, then finishing on high heat for desired char. Red meats or fish that shouldn’t cook through may begin on higher heat zones.
An oven thermometer helps monitor precise grill temperatures for specific recipes.
Tools and Convenience
Larson endorses grill tongs, a meat thermometer, a spatula, and a grill brush as essential tools. Longer handles make them safer over flames. Larson, despite being a kitchen minimalist, insists that these tools, particularly the instant-read meat thermometer, are indispensable.
Choose devices like lighter cubes or pre-marinated meats to streamline tricky or time-consuming steps.
Safety First
Susan McKelvey from the National Fire Protection Association suggests marking a boundary around the grill with bright duct tape visible to children. Before lighting, consult the grill manual for safety instructions, such as avoiding placement against houses or under roofs. Open-air setup ensures proper heat dispersion and air circulation.
If uncontrollable flames arise, close the lid and vents to smother the fire. Having a fire extinguisher handy is prudent.
Larson emphasizes practice to unlock grilling enjoyment. You’ll master it quicker than anticipated. Explore Larson’s recipes at Plays Well With Butter and follow her on Instagram for more tips.
Produced by Mansee Khurana, this audio episode invites listener feedback via voicemail at 202-216-9823 or email at [email protected].